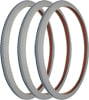
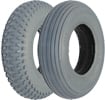
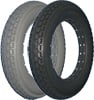
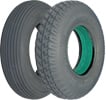
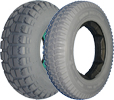
Descriptions of various tire types, including pneumatic, foam filled and urethane wheelchair and scooter tires, and which uses each tire type is appropriate for
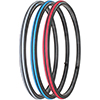
Helpful tips on how to select the right wheelchair or scooter tire, including how to find information about the right tire size, tire type, tread pattern and wheel or caster type